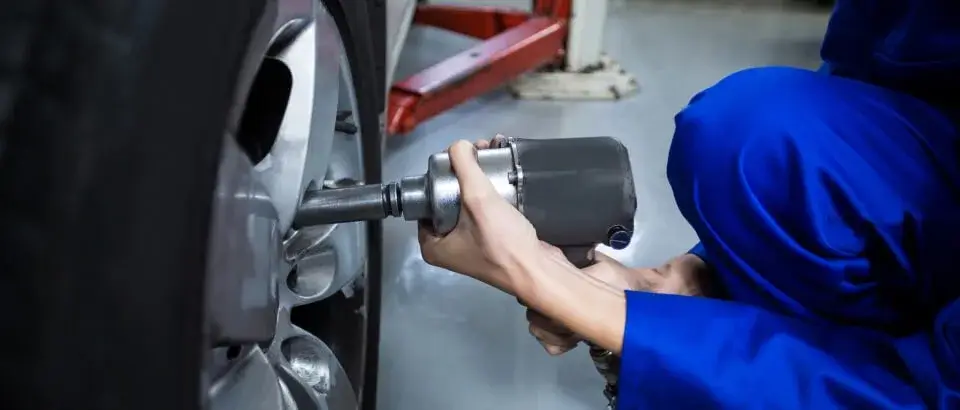
A Guide to Changing Your Car’s Flat Tyre
You never know when your car will have a flat tyre. And when you do, it’s better to know how to change a flat tyre. You don’t want to be stuck in the middle of nowhere when there is no one who can help. Read on to learn how to change a flat tyre.
Step 1: Always be ready for a Misadventure
You never know when you’ll have a flat tyre. You’ll often get it when you are least expecting it. Hence, it is best to have all the tools in your car at all times, just in case. Rest assured, planning beforehand will save you much frustration and embarrassment.
Make sure you have an emergency kit. This should contain a pair of mechanics gloves, a waterproof flashlight, and a paper towel; to wipe off any stains. Most importantly, you need to have wheel chocks, jack, flares, spare tyre and tyre sealants. Also keep a small snow during the winter. Last, but not least, you should have a mat for you to kneel on, while changing tyres.
Step 2: Make Sure You Park on a Flat and Appropriate Place

Location matters. So make sure you take an exit ramp and park your car away from oncoming traffic, to avoid your car being hit or a possible traffic jam. Keep in mind that you need to put on the emergency brake and a block on the tyre, just in case. Also, your car should be parked on a flat and even surface for you to be able to change the tyre easily.
Step 3: Take Off the Hubcap
In case your car has a hubcap, you should take it off so that you can proceed to take off the lug nuts. You can put the nuts on the hubcap to keep them safe.
Step 4: Unwind the Nuts
Take the wrench and position it on the flat tyre’s nuts. Then loosen them by turning the wrench clockwise. Normally, the nuts are placed tightly to avoid the tyre loosening or falling off a moving car. So you will have to use all your strength to unwind the nuts. You only have to loosen the nuts, not take them off yet.
Step 5: Position the Jack under Your Car
If you are not sure where you have to place the jack, then check the owner’s manual for the correct position. Once you have placed it, unwind the hand crank at the end of the jack so that the jack can be raised until it touches the car’s frame. Just keep in mind it’s in contact with a strong spot.
Step 6: Raise the Vehicle and Remove the Flat
Crank the jack until the flat tyre is high enough to be removed from the car wheel easily. Now that the tyre is high enough, you can easily take off the nuts from the tyre with your hand. Then remove the flat tyre and put it on the ground so it doesn’t roll over on the road and hinder any traffic.
Step 7: Replace the Flat Tyre with the Spare
Take out the spare tyre from your car’s boot and bring it near the flat tyre. Place the spare tyre on the wheel where the flat was placed and slide it back so that it can settle in its position nicely.
Now place the lug nuts on it. Once both the spare tyre and the nuts are placed in their right positions, tighten the nuts by turning them anticlockwise. Do these until you feel the nuts tightening up.
Step 8: Lower the Car and Tighten the Nuts
Unwind the jack in order to lower the car until the wheel is set on the ground firmly. Once the wheel is set firmly on the ground, take out your wrench and finish tightening the lug nuts anticlockwise. Take one nut at a time and make sure you tighten all five of them. Double check the lug nuts in case anyone is still lose. Then put the hubcap back.
Step 9: Put Everything Back in the Boot
You’re almost done. Once the nuts are tightened and the flat tyre has been changed, you should put all the equipment back in the boot. Put the flat where the spare one was paced earlier.
So, now you’re ready to hit the road again. Just make sure you get the flat tyre repaired as soon as possible! If you don’t have the right tools when you get a flat tyre, you can always call Swift Battery at +65 8858 9959. Our 24-hour tyre repair service is fast, convenient and just a phone call away.


